Bekijk onze vacatures
.avif)
.avif)
Wat is opstijgend vocht en hoe pakken wij het aan?
Een ontsierende vochtplek op je muur? Dat betekent niet dat je wand voorgoed geruïneerd is, integendeel. We bestrijden opstijgend vocht met een krachtige injectie. Een woordje uitleg!
Een ontsierende vochtplek op je muur? Ongetwijfeld een doorn in het oog! Gelukkig betekent dit niet dat je wand voorgoed geruïneerd is, integendeel. Opstijgend vocht is een veelvoorkomend probleem, dat verholpen wordt met een krachtige injectie. Een woordje uitleg!
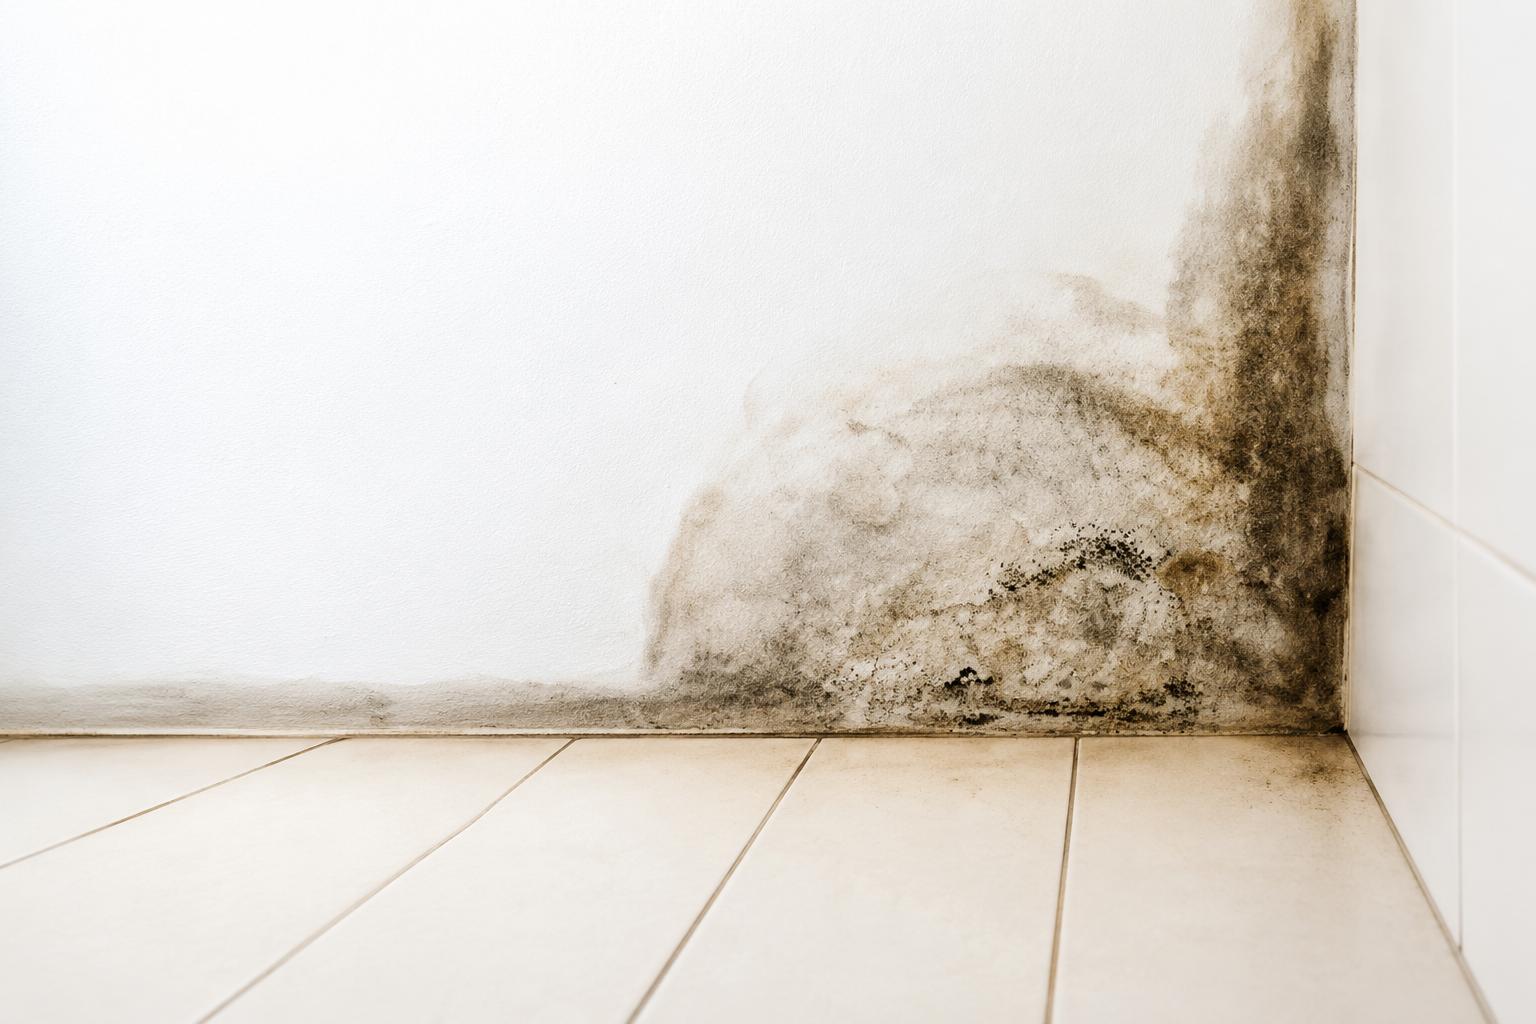
Wat is opstijgend vocht?
Wanneer je kampt met opstijgend vocht, trekken de bakstenen in de muur het grondwater omhoog door hun capillaire werking. Dit wijst erop dat de waterkering afwezig is of onvoldoende werkt. Als resultaat ontstaan er allerlei problemen binnenshuis: vochtplekken verschijnen aan de oppervlakte, behangpapier komt los, verfwerk schilfert, zouten zetten zich af … De afwerkingslaag herstellen? Een nieuw likje verf? Dat zijn slechts tijdelijke pleisters op de wonde.
Je vochtplekken verwijderen
Opstijgend vocht vraagt om een direct en doeltreffend antwoord. Geen halve oplossingen, wel effectieve maatregelen op lange termijn. Daarom is het injecteren van je muren the way to go! We behandelen je wanden nauwgezet met een vochtwerende injectiegel. Dit product voorkomt dat opstijgend vocht je woning in de toekomst binnendringt. Eenvoudig, maar 100 % futureproof!
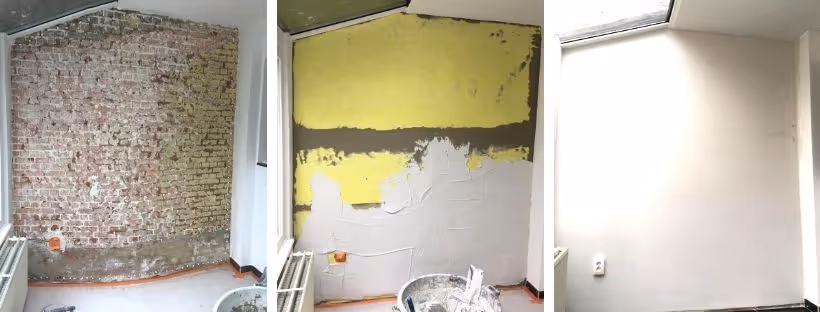
Vochtige muren injecteren in 4 stappen
Stap 1 | Voorbereiden
We handelen steeds met veel respect voor jouw woonst. Daarom is het afdekken van de vloer met karton een must! Daarna verwijderen we de afwerkingslaag van de aangetaste muur, precies tot op de afgesproken hoogte. Het puin wordt netjes opgeruimd door onze werkmannen.
Stap 2 | Muur injecteren
Up next? Onderaan de muur boren we gaten met een diameter van 10 à 14 millimeter. Dit doen we om de 10 centimeter. Vervolgens gaan we je muur injecteren met het topproduct Rewahgel inject A+++. Deze gel verspreidt zich gedurende 3 à 4 weken in je muur en vormt een duurzame, horizontale vochtbarrière, net boven de vloer. Zo zetten we opstijgend vocht volledig buitenspel.
Stap 3 | Beschermen
DryPlan laat niets aan het toeval over. We halen alles uit de kast om niet enkel opstijgend vocht, maar ook hygroscopische zouten tegen te gaan. Die worden vaak, samen met het grondwater, naar boven getrokken en afgezet. Het gevolg? Pleister- en verfwerk komen opnieuw los. Dit scenario vermijden we door een zoutwerend membraan te plaatsen, dat je afwerkingslaag in zijn mooiste staat houdt.
Stap 4 | Afwerken
Wanneer het membraan geplaatst is, rollen we de mouwen op om je muur te bezetten. Reken op ongeveer 10 tot 12 weken droogtijd, voordat je hem kan schilderen of behangen. We raden aan om je ruimte tijdens deze periode continu te ventileren. Op koude momenten zorg je best voor een minimum aan verwarming. Door de droogtijd keurig af te wachten, ben je zeker van een piekfijn, vochtvrij eindresultaat!
TIP | Hou je factuur na de werken nog even bij de hand. In sommige gemeentes krijg je namelijk subsidies voor vochtbehandelingen. Check dus zeker of dit voor jouw woonplaats van toepassing is. Wij vullen graag de nodige formulieren in, zodat jij je aanvraag kan indienen.
Professionals gezocht om je muren te injecteren tegen vocht?

.avif)
.avif)